Introduction
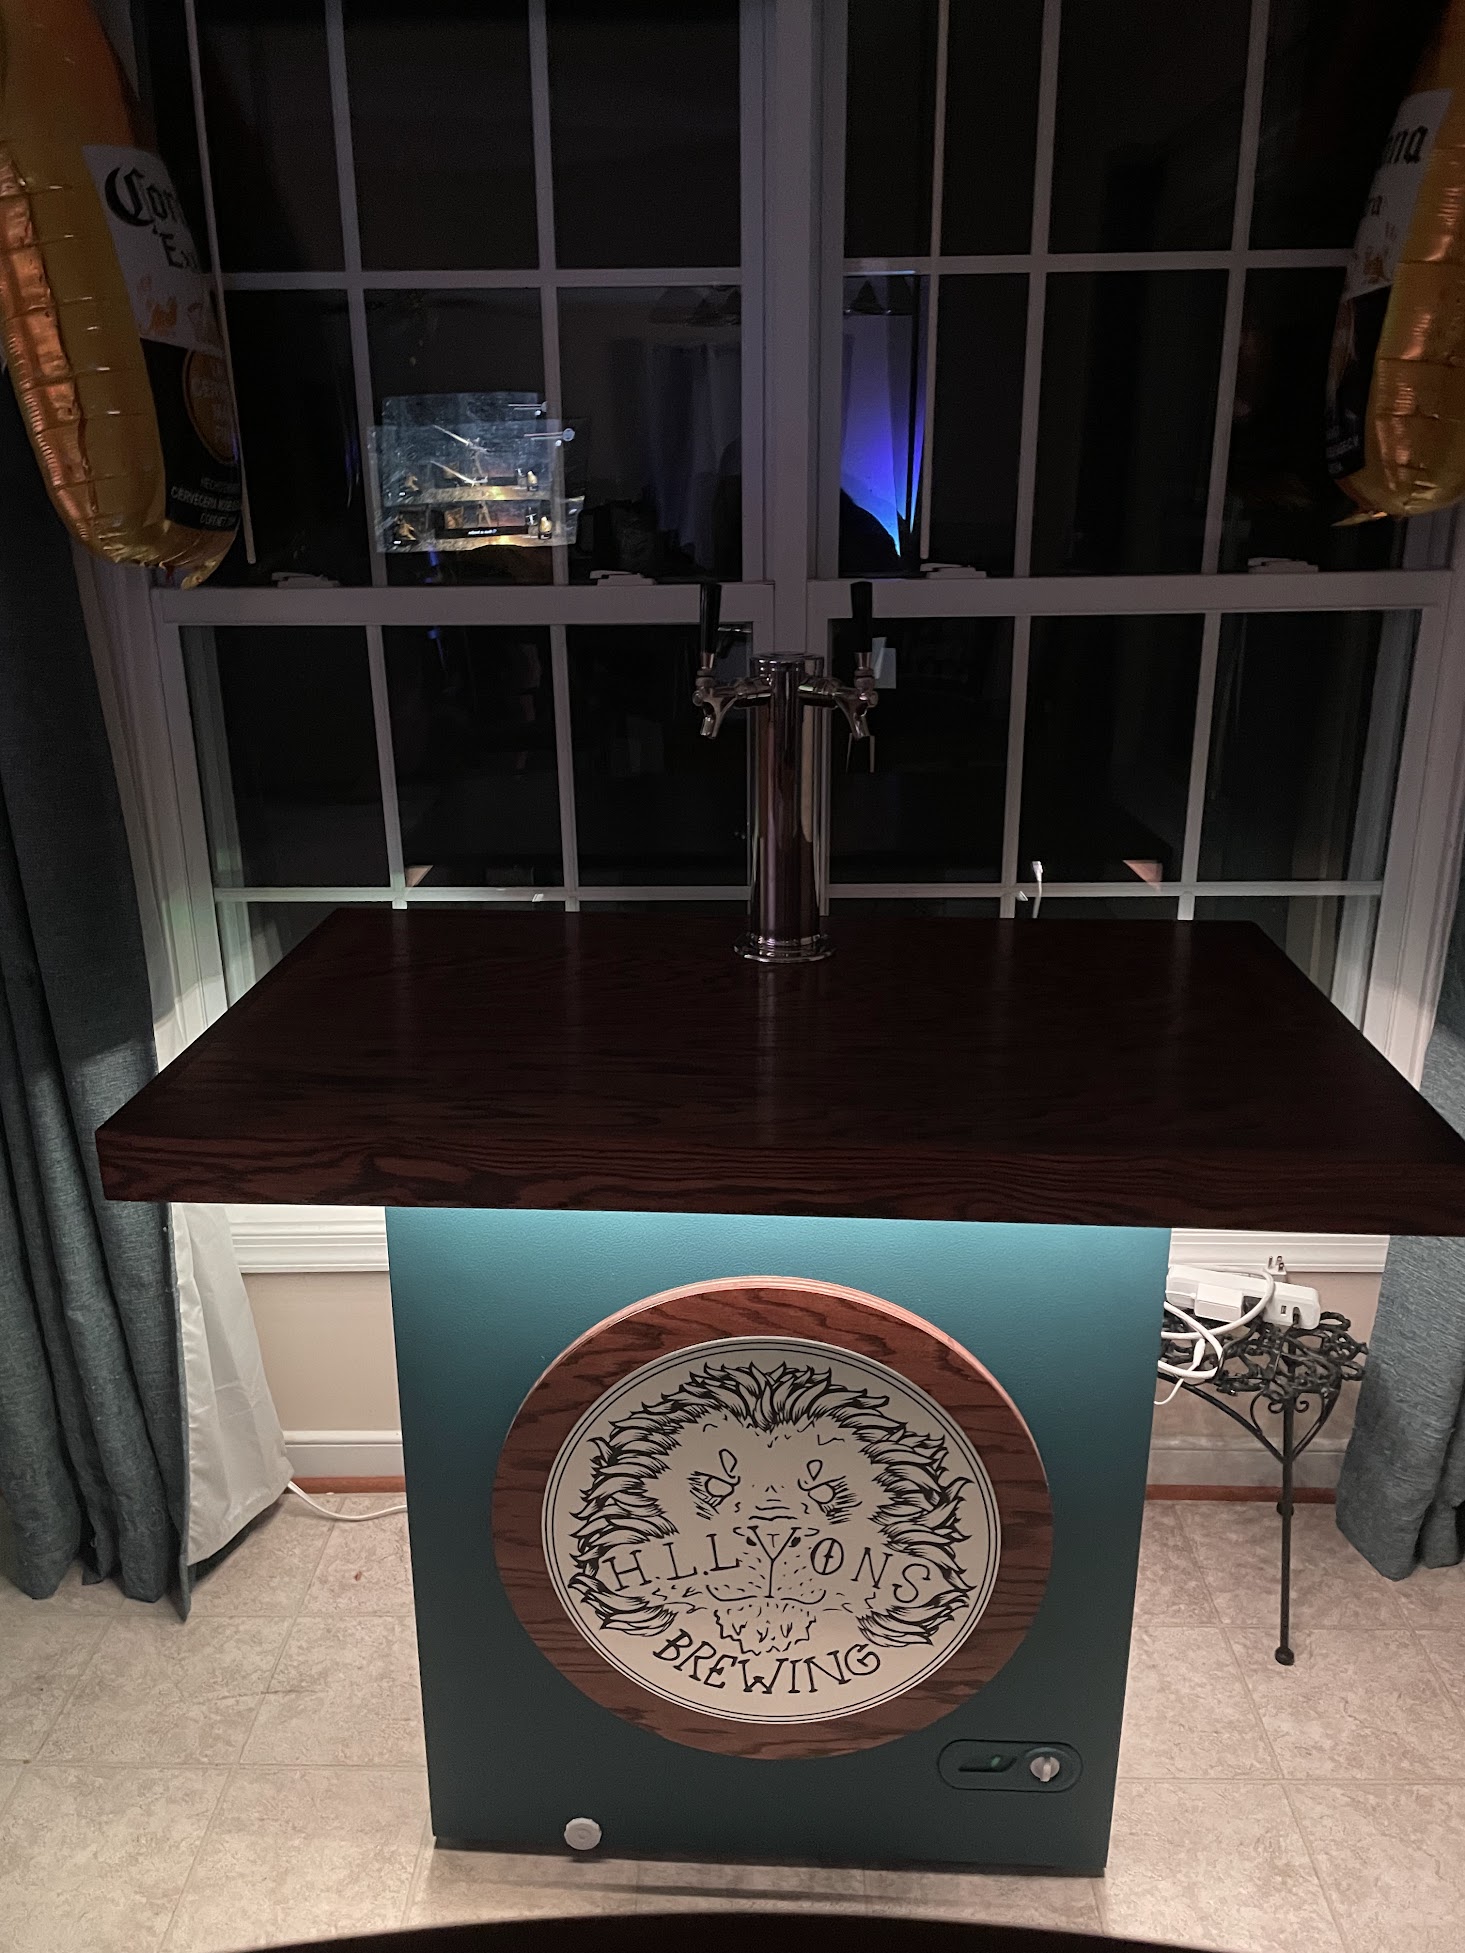
I just gotta show her off
![]()
Materials and Cost
Unfortunately, I did not take any cheap routes for this build. I bought everything new.
You could definitely use an old chest freezer, buy used kegs, and find a cheaper tap tower on Amazon. A lot of these things could probably also be found used on Craigslist or Facebook Marketplace.
Keezer Assembly Items
| Item with link | Price |
|---|---|
| 5.0 cu. ft. Chest Freezer | $169.00 |
| 3” Stainless Steel Dual Faucet Draft Tower | $183.99 |
| Red Oak Plywood 3/4 in. x 2 ft. x 4 ft. (2x) | $58.98 |
| Red Oak Lumbar 1-in x 3-in x 6-ft (2x) | $34.96 |
| Red Oak Stain | $12.98 |
| Polyurethane | $16.48 |
| Paint Primer | $6.48 |
| Paint | $21.98 |
| 220-Grit Sandpaper | $6.98 |
| Natural Bristle Brush | $10.48 |
| Rags | $13.98 |
| Paint Sticks | $1.98 |
| Construction Adhesive | $8.98 |
| Washers for between lid and wood (10x) | $3.50 |
| Washers for screws inside lid (4x) | $0.76 |
| Screws (4x) | $2.75 |
| Aluminum Composite Panel Brushed Silver | $9.93 |
| LED Light Strips | $9.99 |
| Inkbird Dual-Stage WiFi Temp Controller | $49.99 |
| USB Desk Fan | $8.99 |
| TOTAL: | $633.16 |
Homebrewing Kegging Items
| Item with link | Price |
|---|---|
| 5 Gallon Ball Lock Cornelius Keg (2x) | $183.98 |
| CO2PO® Double Body Regulator | $103.99 |
| Gas Connector Kit - Ball Lock Version (2x) | $20.78 |
| 5 lb CO2 Tank | $132 |
| TOTAL: | $440.75 |
So in total, I spent $1,073.91! Honestly, I wouldn’t be surprised if I’m missing something here either. Let’s just say this wasn’t a cheap DIY and if this thing ever perishes I’ll be quite devastated.
Now that there’s everything laid out of what I purchased, lets get into my build process!
Build Process
Painting the Chest Freezer
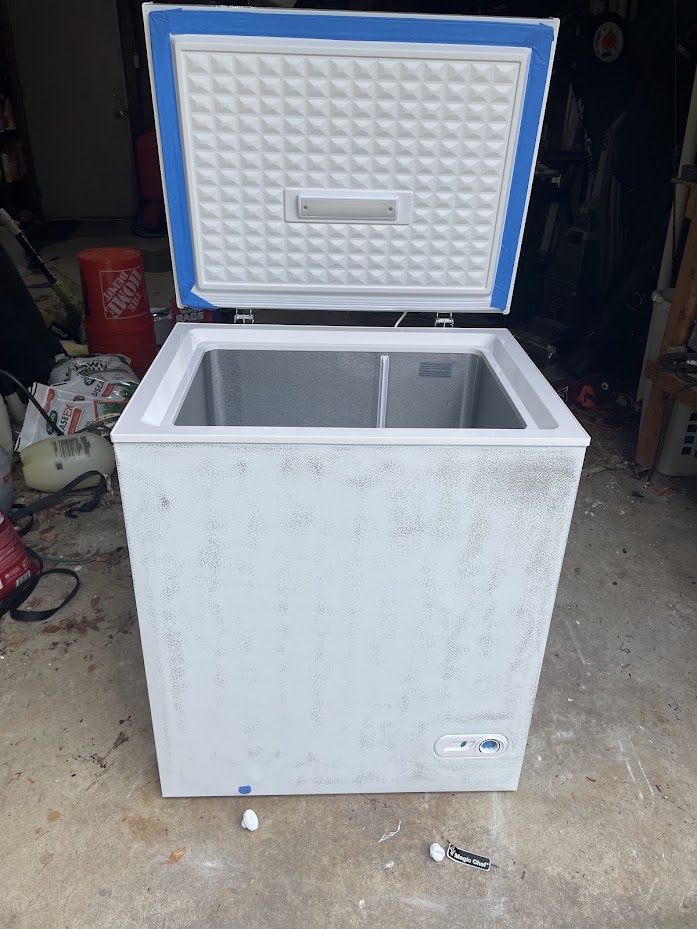
Painting the chest freezer was definitely the easiest part. First I sanded the whole thing and put painters tape around the seal, drain hole, and the little green light that shows the freezer is on.
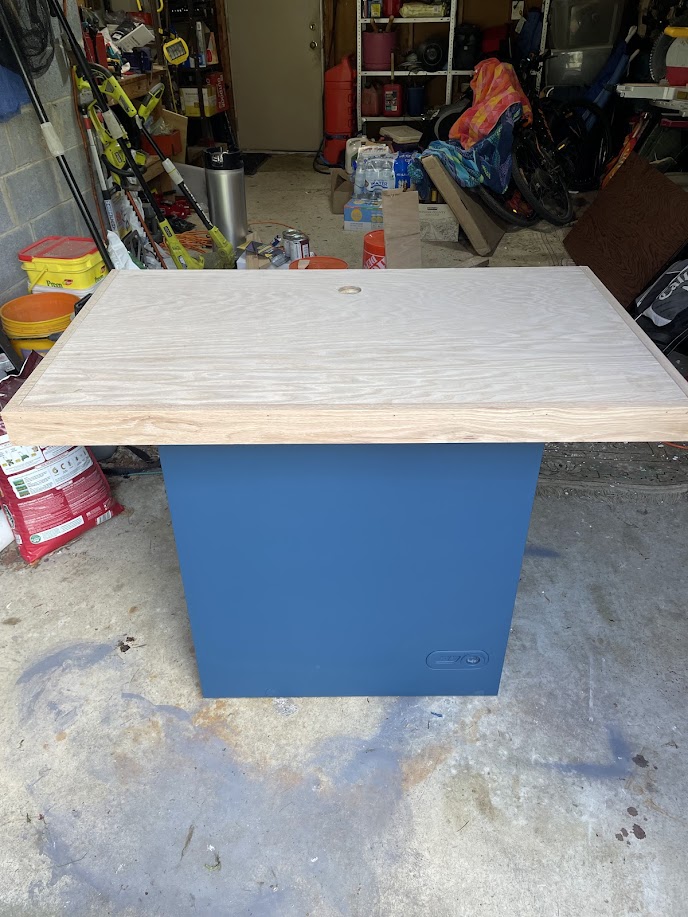
Then I primed the freezer, I didn’t prime the top because I wouldn’t be painting that. I knew I was going to be adding the tabletop later on.

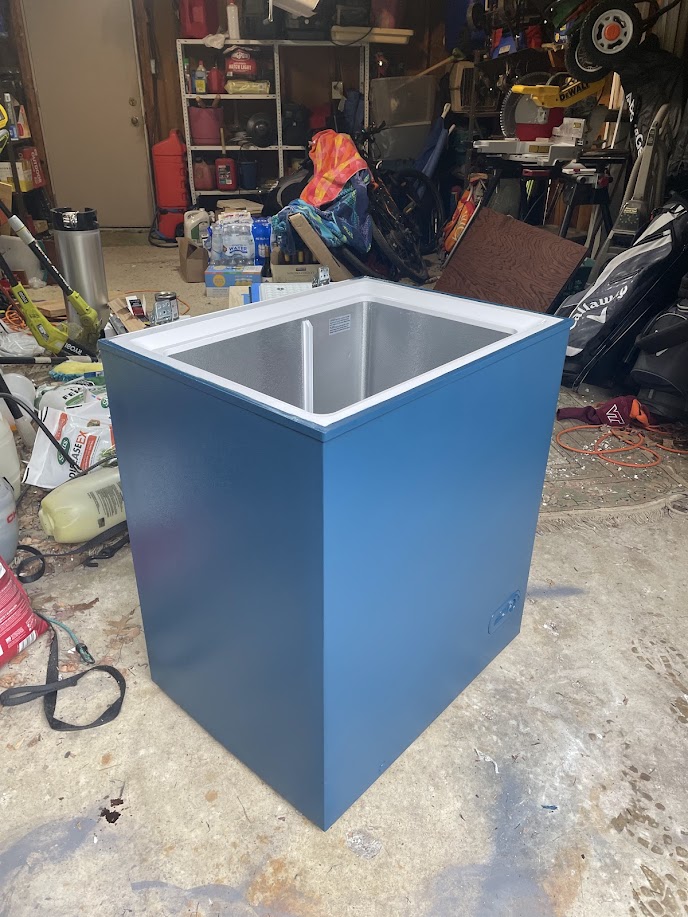
A day or two later I pained it this lovely blue color. The lid is also now removed because I was prepping for the tabletop to be added.
Connecting the Wooden Tabletop and the Freezer Lid
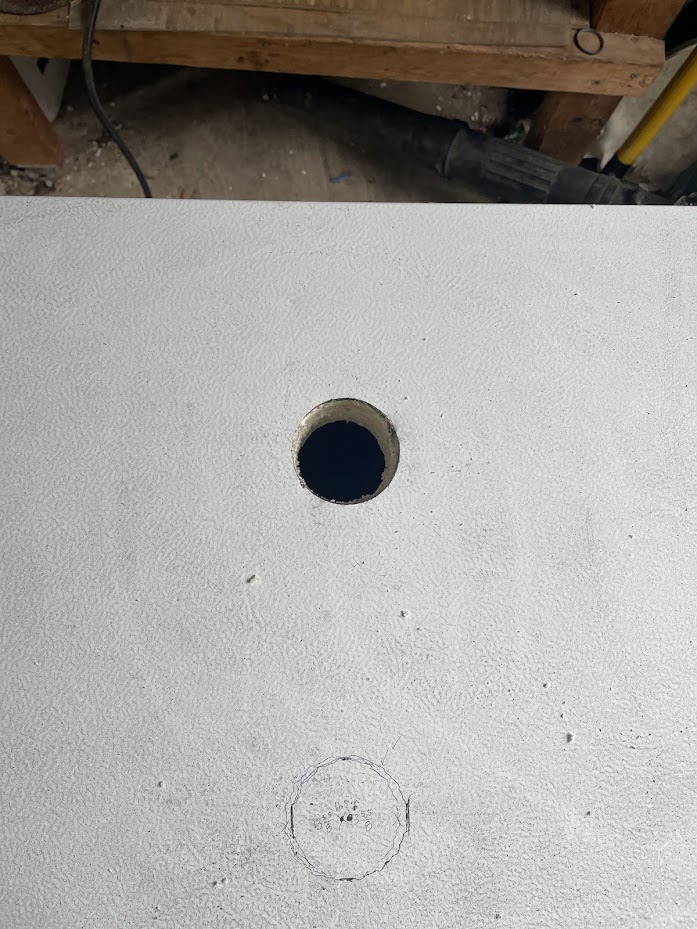
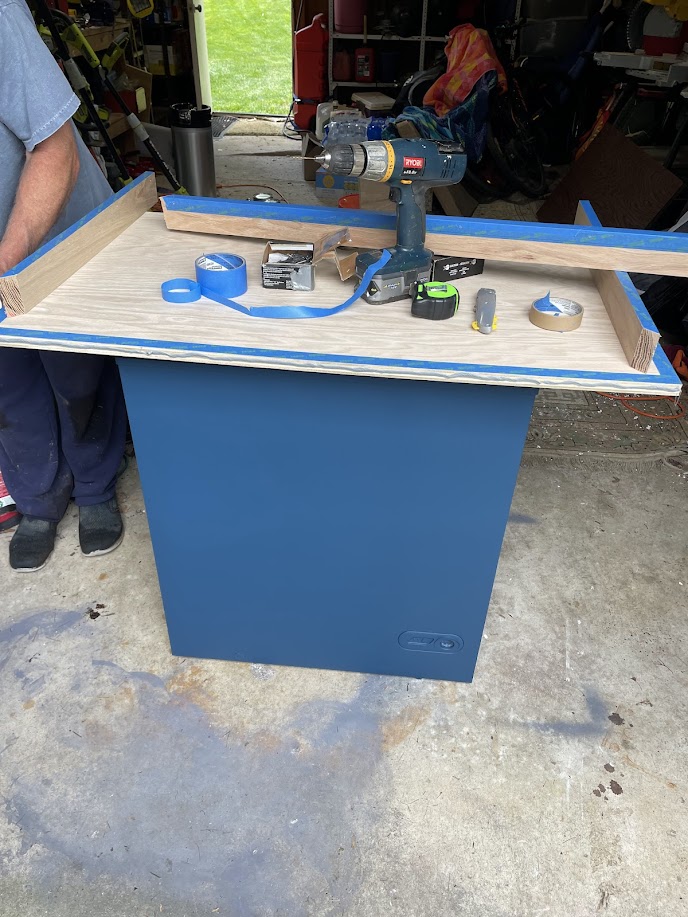
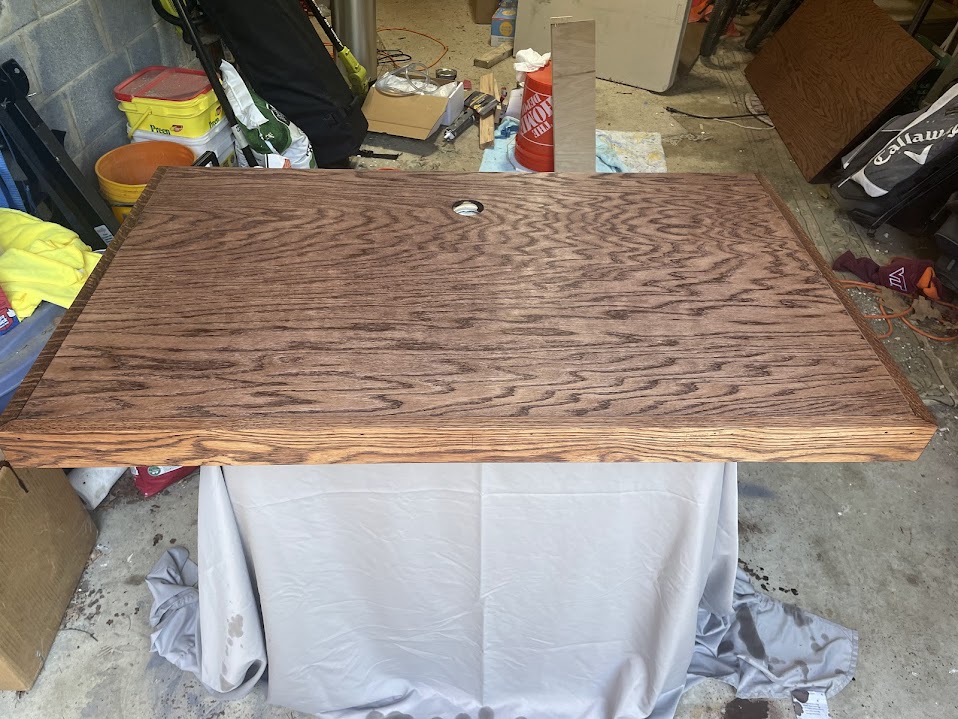
The first thing I had to do was drill a hole in the freezer lid, I used a hole saw to do this. Unfortunately, I drilled right through the wires that connected to the freezer light in the lid, but I carefully removed them so it wasn’t an issue. And I didn’t need the light anyways so I wasn’t upset about it.
Next I had to line up the hole in the freezer to the wooden piece. This was easy. I also added painters tape to show where the freezer lid will go.
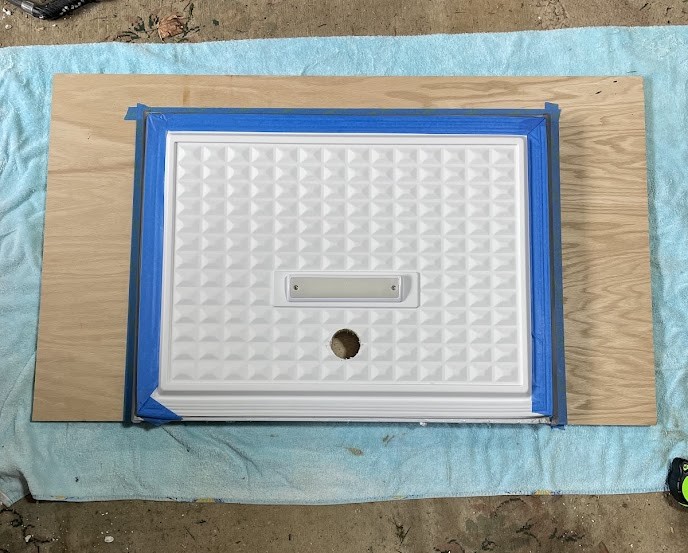
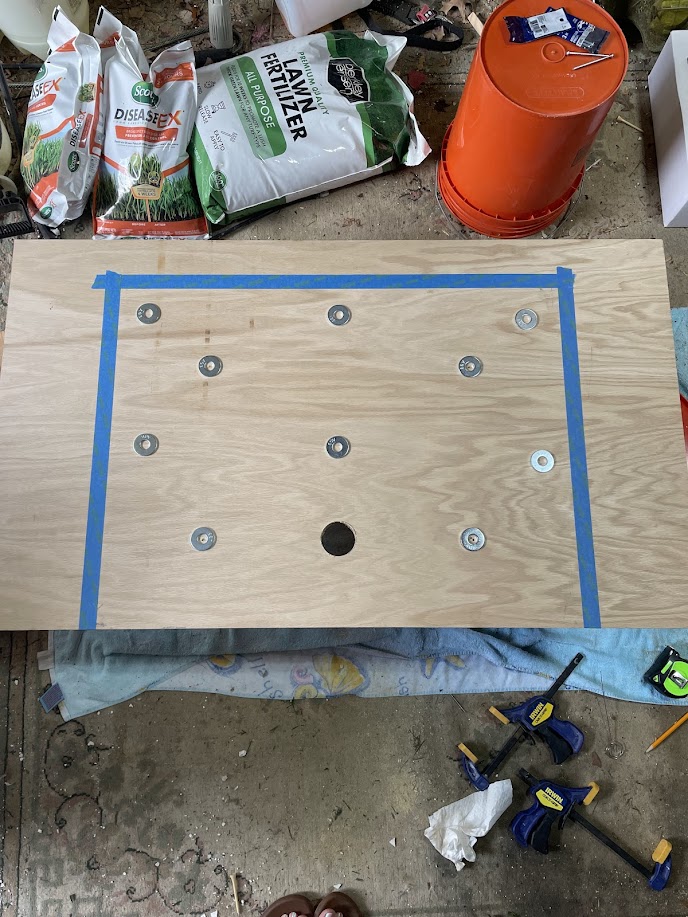
Here I laid out the 1/2” washers to go in between the wood and the freezer lid. This was because the lid had the smallest dip on the edges raising it, and I needed this lid to be as secure as possible to the wood.
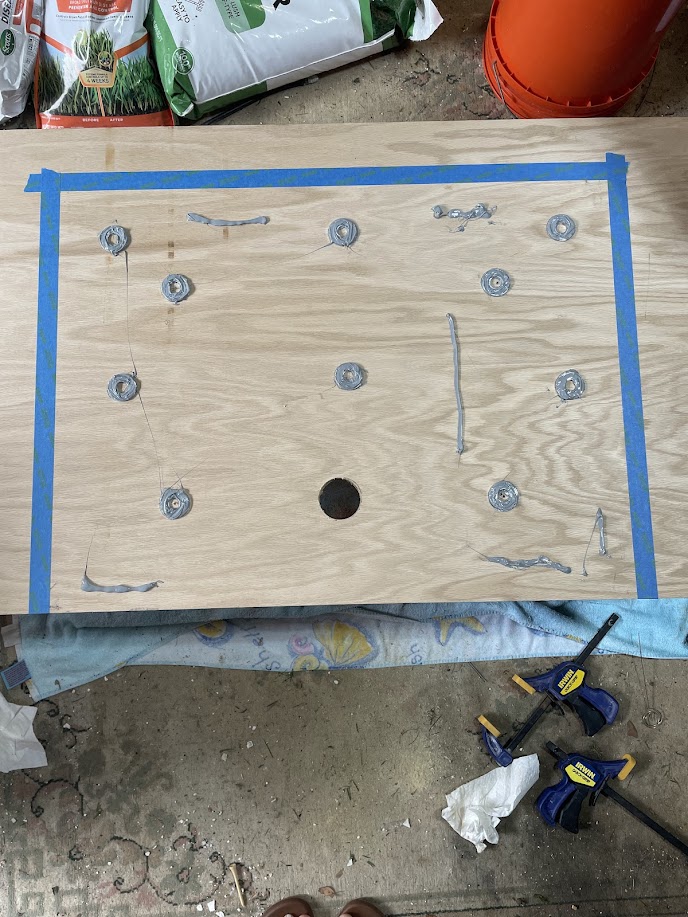
Finally here’s everything glued on to the wood and ready to have to freezer lid placed on top.
Here’s the lid glued on and with additional washers that I screwed through the freezer lid into the wood. I let this set for at least 48 hours before messing with it.

Finishing the Wooden Tabletop
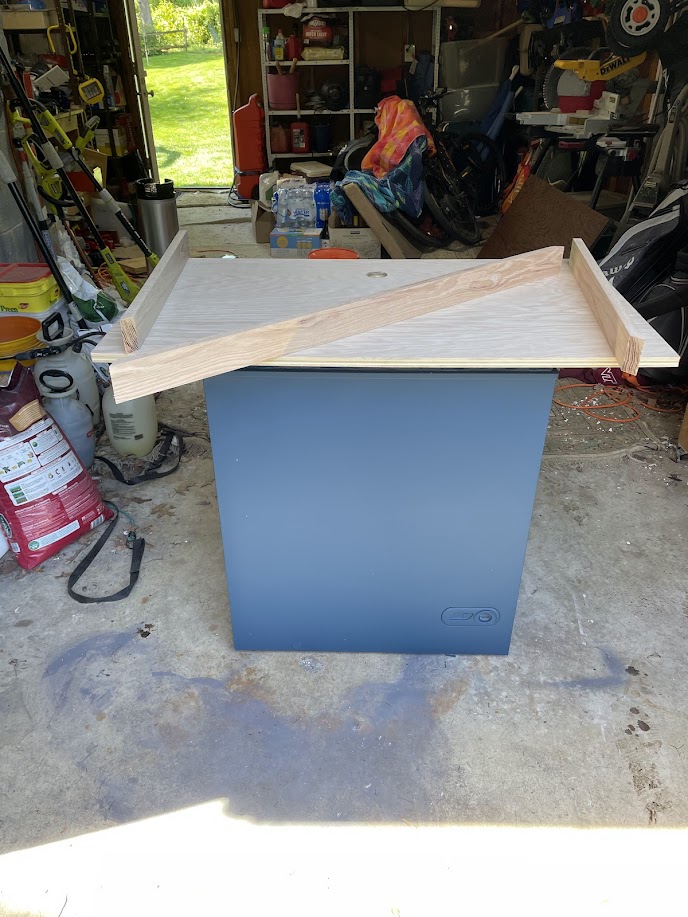
I had to add tabletop edges to this thing. Let me tell you, using a table saw to cut 45 degree angled edges was not easy! And table saws are actually terrifying. Here I have the three pieces of wood ready to to be attached and make this baby look more elegant.
So I am silly and only bought gray glue. I should have gotten one that matched the stain I was going to use, but I masking taped this baby up to help prevent any gray glue getting anywhere. I needed several hands for this, I was going to glue the edges on, and then also nail them in with really tiny nails.
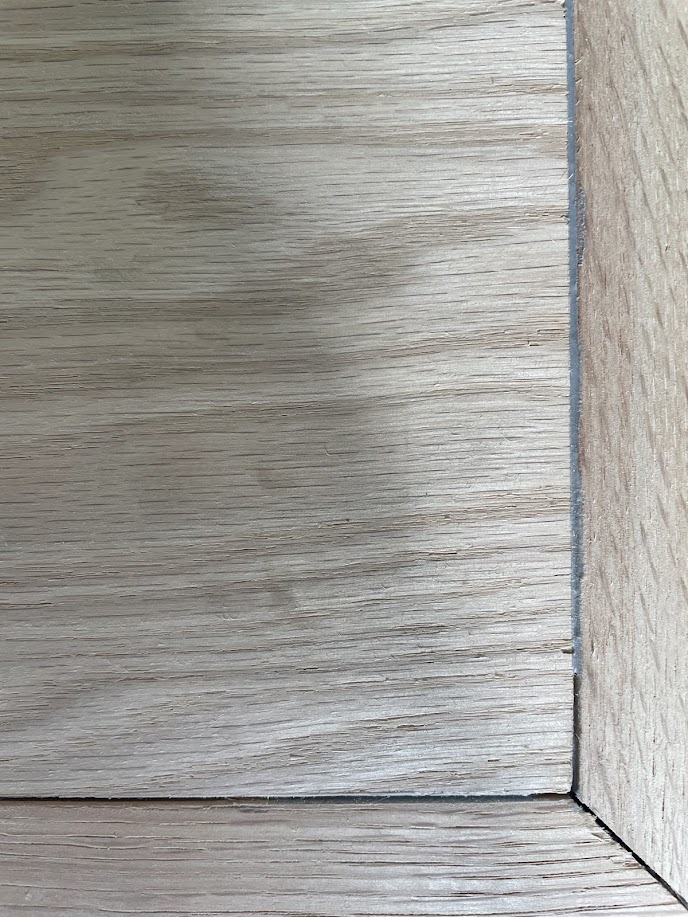
Here she is with the edges 😍 This was definitely the most stressful part of this build. It didn’t take long but I was so worried about the gluing and nailing and not having the edges aligned perfectly, but thankfully it all worked out!
There was some issues, I didn’t have any really big clamps to push the wood super close together, so there are gaps between the top and the edges, and some places you could see glue. I ended up picking out the gray glue later on and filling those edges with red oak wood filler before I stained. This helped A LOT. If I were to redo this, I would definitely get big clamps so those gaps wouldn’t be there.
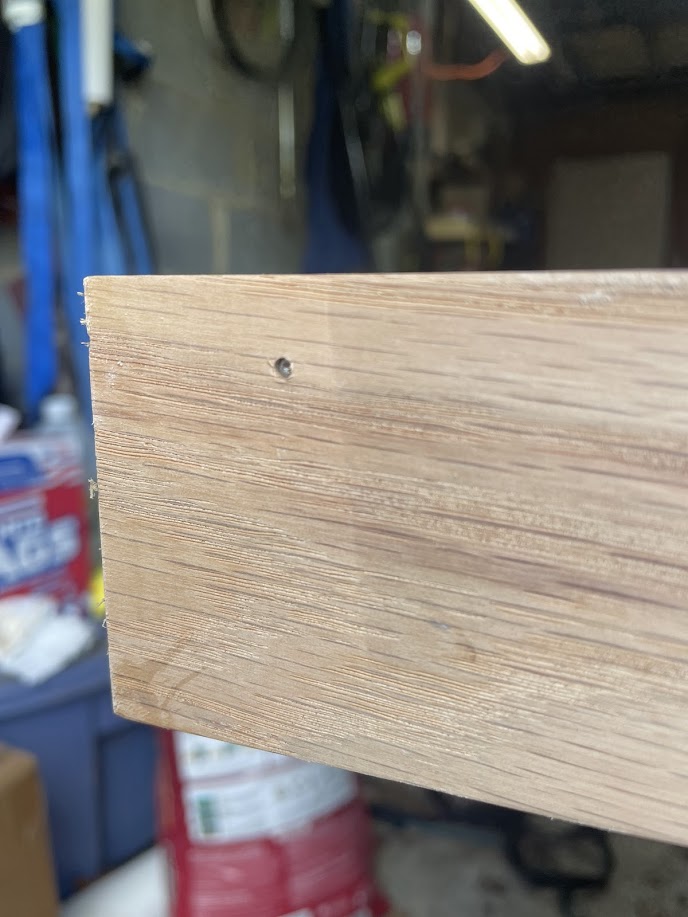
I also filled all the nails in with red oak wood filler before I stained as well.
Staining the Tabletop
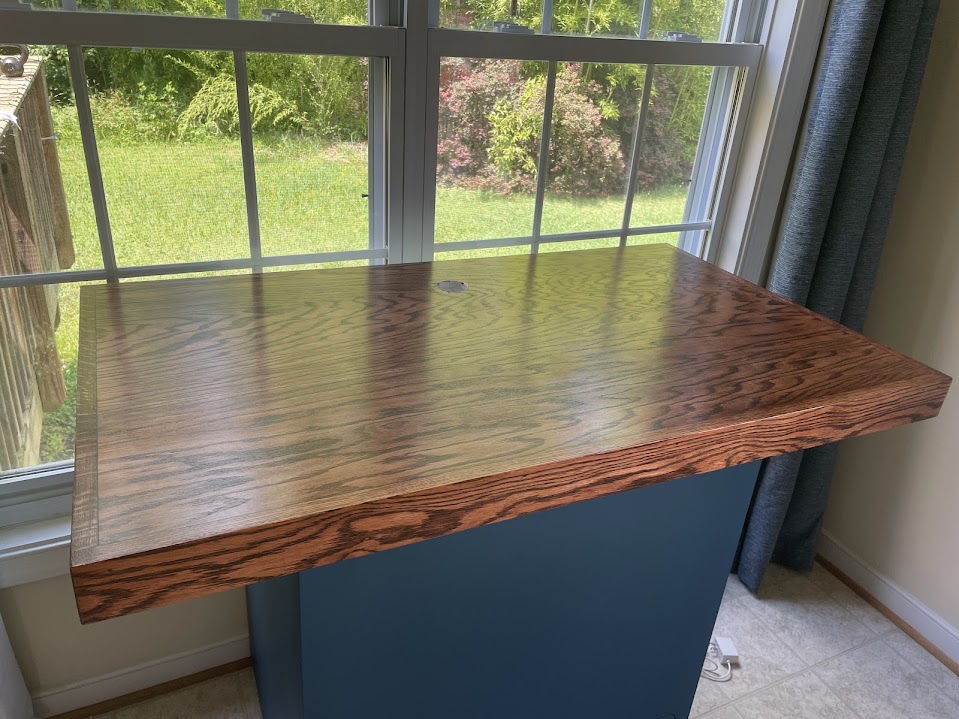
I obviously sanded the crap out of this before I stained. I LOVED how this stain turned out. I love the grain pattern for red oak wood, it is a pricier wood but it is just so beautiful.
Here is after the second stain.

I did some final touch ups with the red oak wood filler, did one more stain, and finished with polyurethane.
Making the Logo
The logo is probably my favorite part. When I started dating my boyfriend (Liam) back in 2020, I told him I wanted to have my own brewery one day. He doodled up an amazing logo.
![]()
Four years later, he recreated it using Adobe Illustrator, and he conveniently works at a print shop and printed the logo directly on to aluminum dibond.
![]()
Finishing Touches
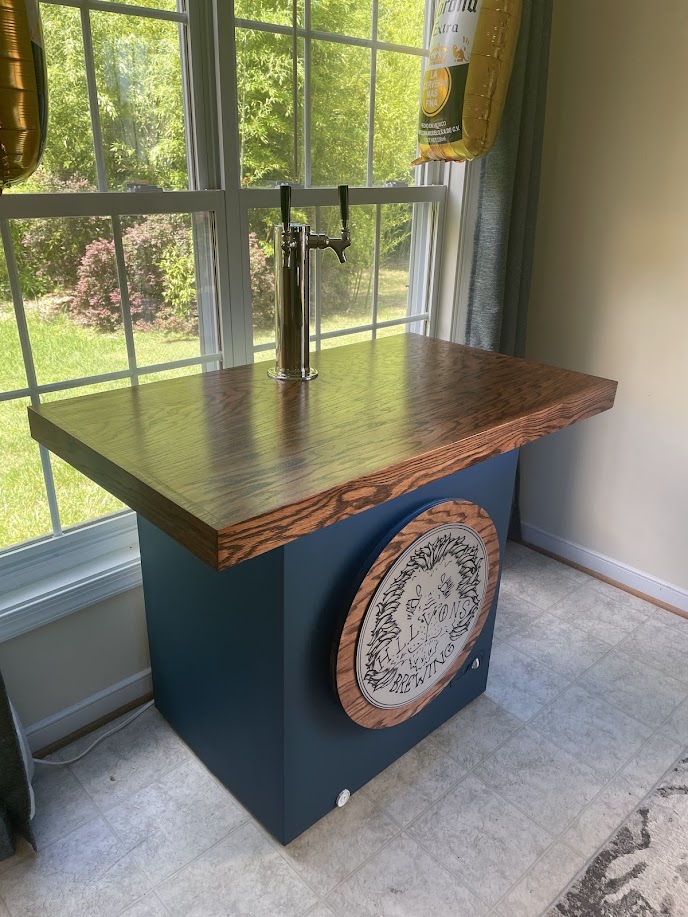
Finally after the wood was done drying (I waited 1 week) I attached the tap tower. I then glued small wooden pieces to the front of the freezer. Then I took the circular stained piece of wood (Liam got everything cut into circles at his job, I didn’t have a tool for that) and glued that onto the smaller pieces of wood to make it look elevated off the wood. I also know you’re really not supposed to have anything covering a freezer, because it needs to release heat, so I didn’t want the big circular piece of wood directly glued onto the freezer. Then I just glued the logo onto the piece of wood!
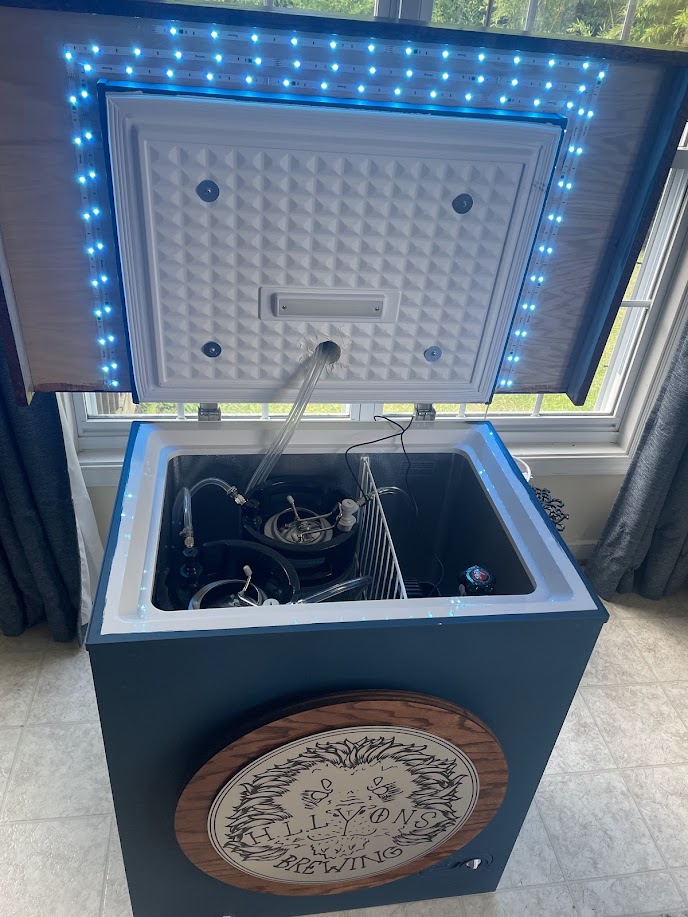
Finally I added LED lights underneath the lid to illuminate this masterpiece at night!
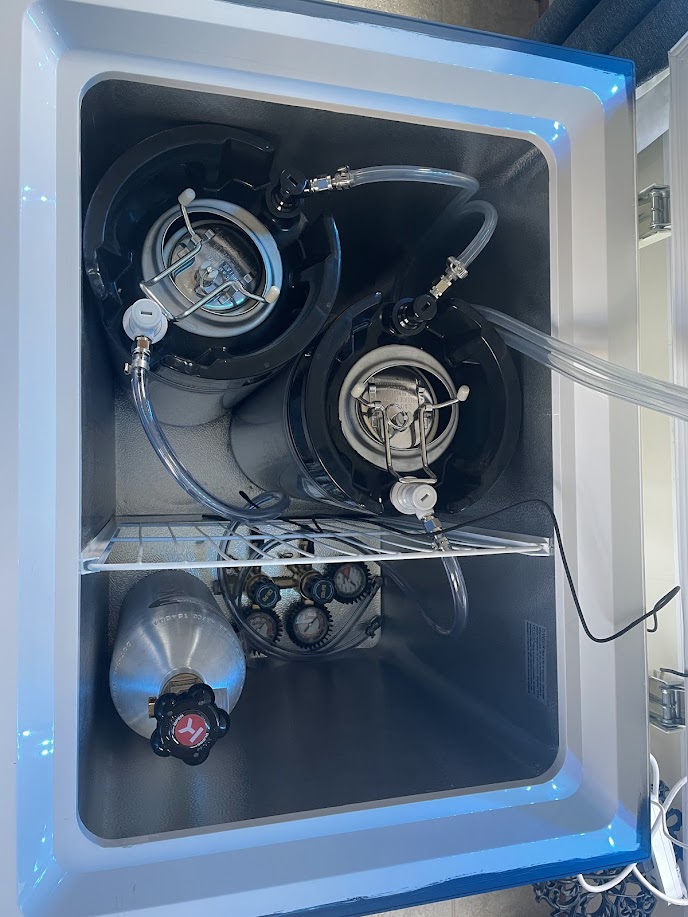
Then I added all the keg elements into the freezer, along with attaching the Inkbird temperature controller to keep the freezer at usually around 34 degrees, I like a crisp cold beer 😎
And finally, at night 😏